
Instead of using the print driver’s factory default settings, you can add your own print driver configuration. When the printer is added on the user’s computer, the configuration is added as well. That way, the user does not have to make these configuration changes. If you are satisfied with the print driver’s factory defaults, you do not need to make a print driver configuration.
How to upload print driver configuration from a macOS computer
- Open the Print queue properties
![]() page.
page. - Select the Drivers
![]() tab.
tab. - Indentify macOS as the System.
- Select Add a new configuration
![]()
You can make the print driver configuration with CUPS.
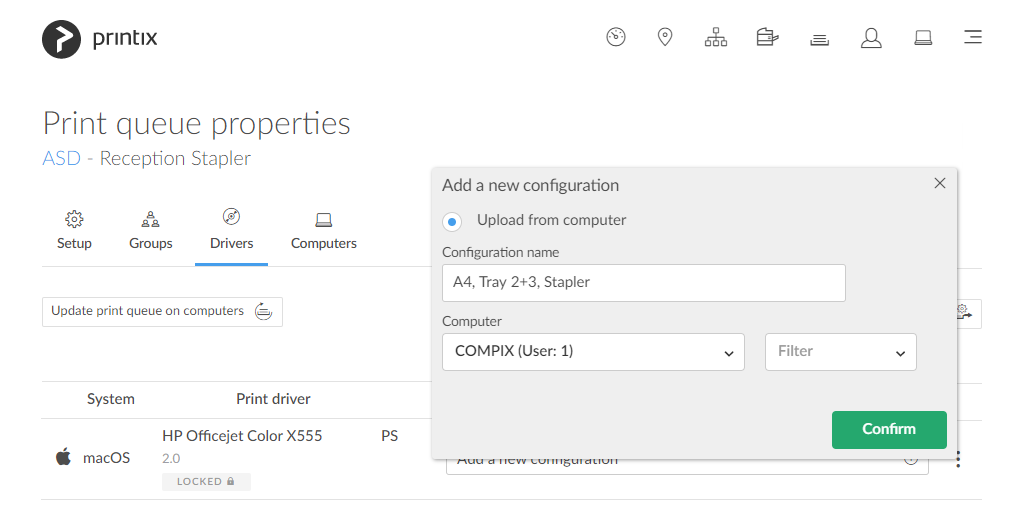
- In the Add a new print driver configuration dialog:
- Enter Configuration name. Example: A4, Tray 2+3, Stapler.
- Select an online Computer you want to upload the configuration from.
- The print queue MUST be installed on the computer already.
- Optionally, select Filter to filter on the type of computer (Desktop, Laptop and Server).
- Select Confirm.
The print driver configuration is uploaded to Printix Cloud.
- In Printix Administrator:
- The print driver configuration is selected.
- The print driver selection is locked
![]()
- Use Update print queues to make the changes take effect on computers where the print queue is already installed.
Make the print driver configuration with CUPS
On your Mac ![]() computer with the Printix printer installed:
computer with the Printix printer installed:
- Open a web browser and type:
http://localhost:631/printers/
- The web interface of the macOS printing system (CUPS) opens on the Printers page.
If you see the message Web Interface is Disabled, then enable the CUPS web interface.
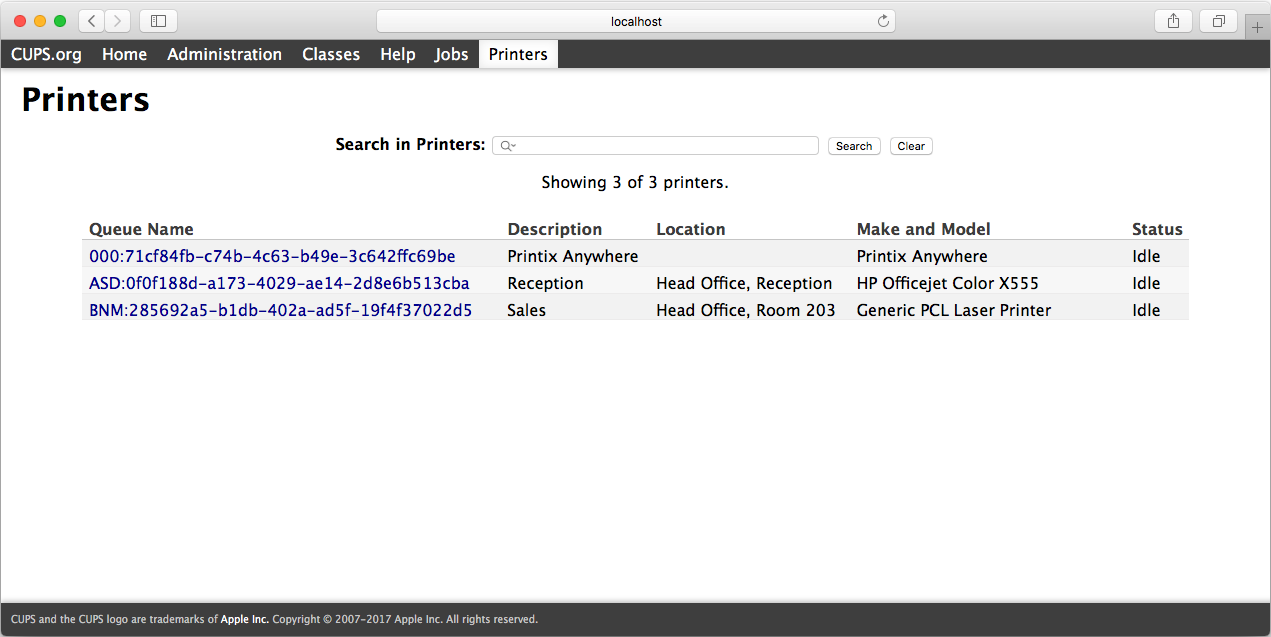
- Select the Printix printer you want to configure (Example: ASD, Reception).

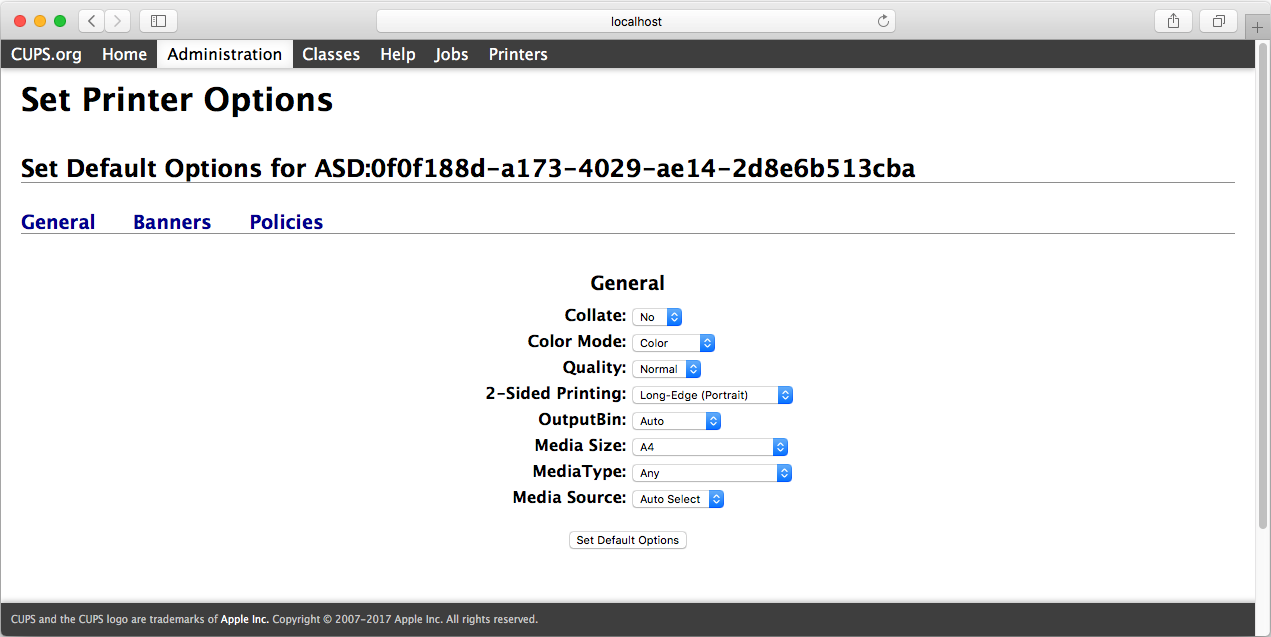
- Change Administration to Set Default Options.
- The Set Printer Options page opens.
- On the General tab, make your changes to the printing defaults.
- Select Set Default Options.
- Depending in the print driver, there may be additional tabs, like Options Installed.
- If relevant, make your changes to the options installed.
- Select Set Default Options.
Enable the CUPS web interface
On your Mac ![]() computer:
computer:
- Select the search icon in the top right corner.
- Type: terminal, and select Enter.
- In the Terminal window type:
cupsctl WebInterface=yes
Post your comment on this topic.