- Select Menu
![]() , Settings
, Settings ![]()
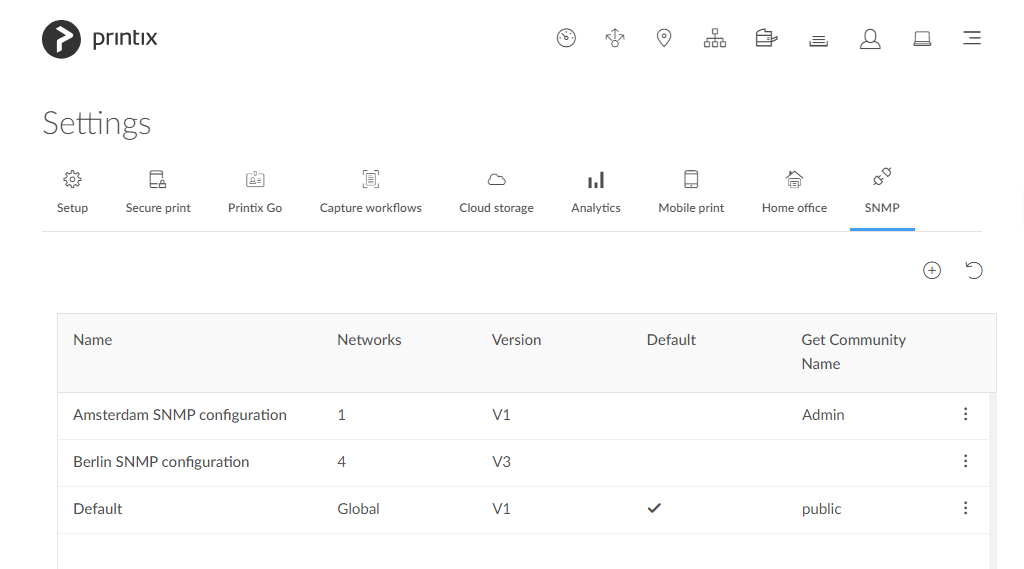
- Select the SNMP
![]() tab.
tab.
- Select
![]() to start adding a new SNMP configuration.
to start adding a new SNMP configuration.
- Select Version 1.
- In Configuration name, enter a name for the configuration.
- In Get Community Name, enter the community name exactly as it is on the printers.
- In Set Community Name, enter the community name exactly as it is on the printers.
- In Networks:
- If the configuration should be assigned to all networks, set it to Global.
- If the configuration should be assigned to specific networks only, select Select, then select the appropriate networks.
- Select Save.
Feedback
Thanks for your feedback.

Post your comment on this topic.