
- Select Menu
![]() , Settings
, Settings ![]()
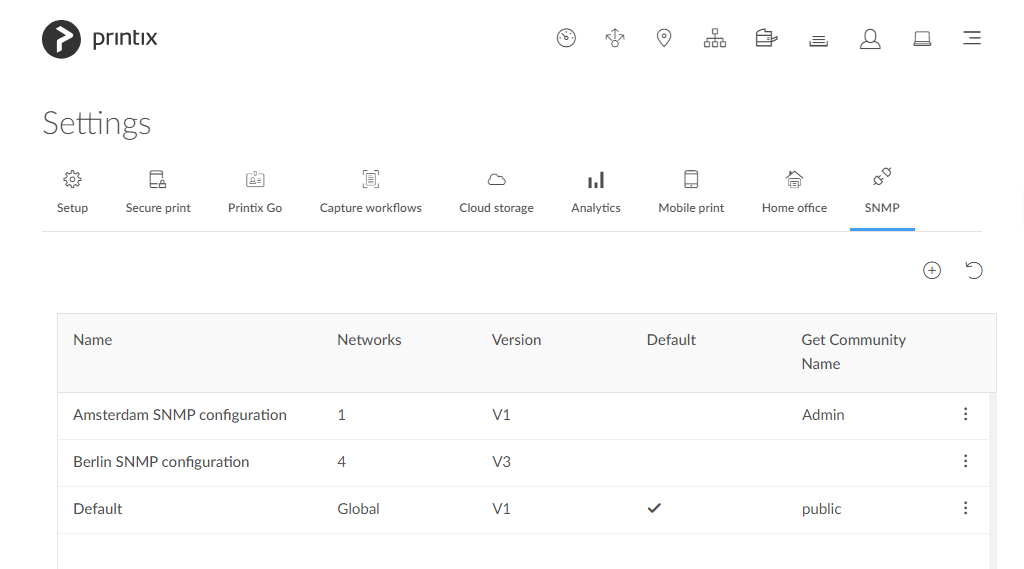
- Select the SNMP
![]() tab.
tab. - Select
![]() to start adding a new SNMP configuration.
to start adding a new SNMP configuration. - Select Version 3.
- In Configuration name enter a name for the configuration.
- In Username enter the SNMP username exactly as it is on the printers.
- Select Security level for communication:
- No authentication and no privacy
- Authentication and no privacy
- Authentication and privacy
- If required select an Authentication protocol and in Authentication key enter the key.
- If required select a Privacy protocol and in Privacy key enter the key.
- In Context name enter the context name as it is on the printers.
- In Networks:
- If the configuration should be assigned to all networks, set it to Global.
- If the configuration should be assigned to specific networks only, select Select, then select the appropriate networks.
- Select Save.
Printer vendor’s SNMPv3 context names
For most printer vendors the context name can be left blank. For HP it must be Jetdirect.
| Vendor | Context name |
|---|---|
| Brother | user defined |
| Dell | |
| Epson | EPSON |
| Fuji Xerox | |
| HP | Jetdirect |
| Konica Minolta | user defined |
| Kyocera | |
| Lanier | GWNCS |
| Lexmark | |
| Ricoh | GWNCS |
| Samsung | |
| Sharp | mfpdirect |
| Toshiba | MFP |
| Xerox |
Post your comment on this topic.