
These are generic instructions.
- Sign in to the printer.
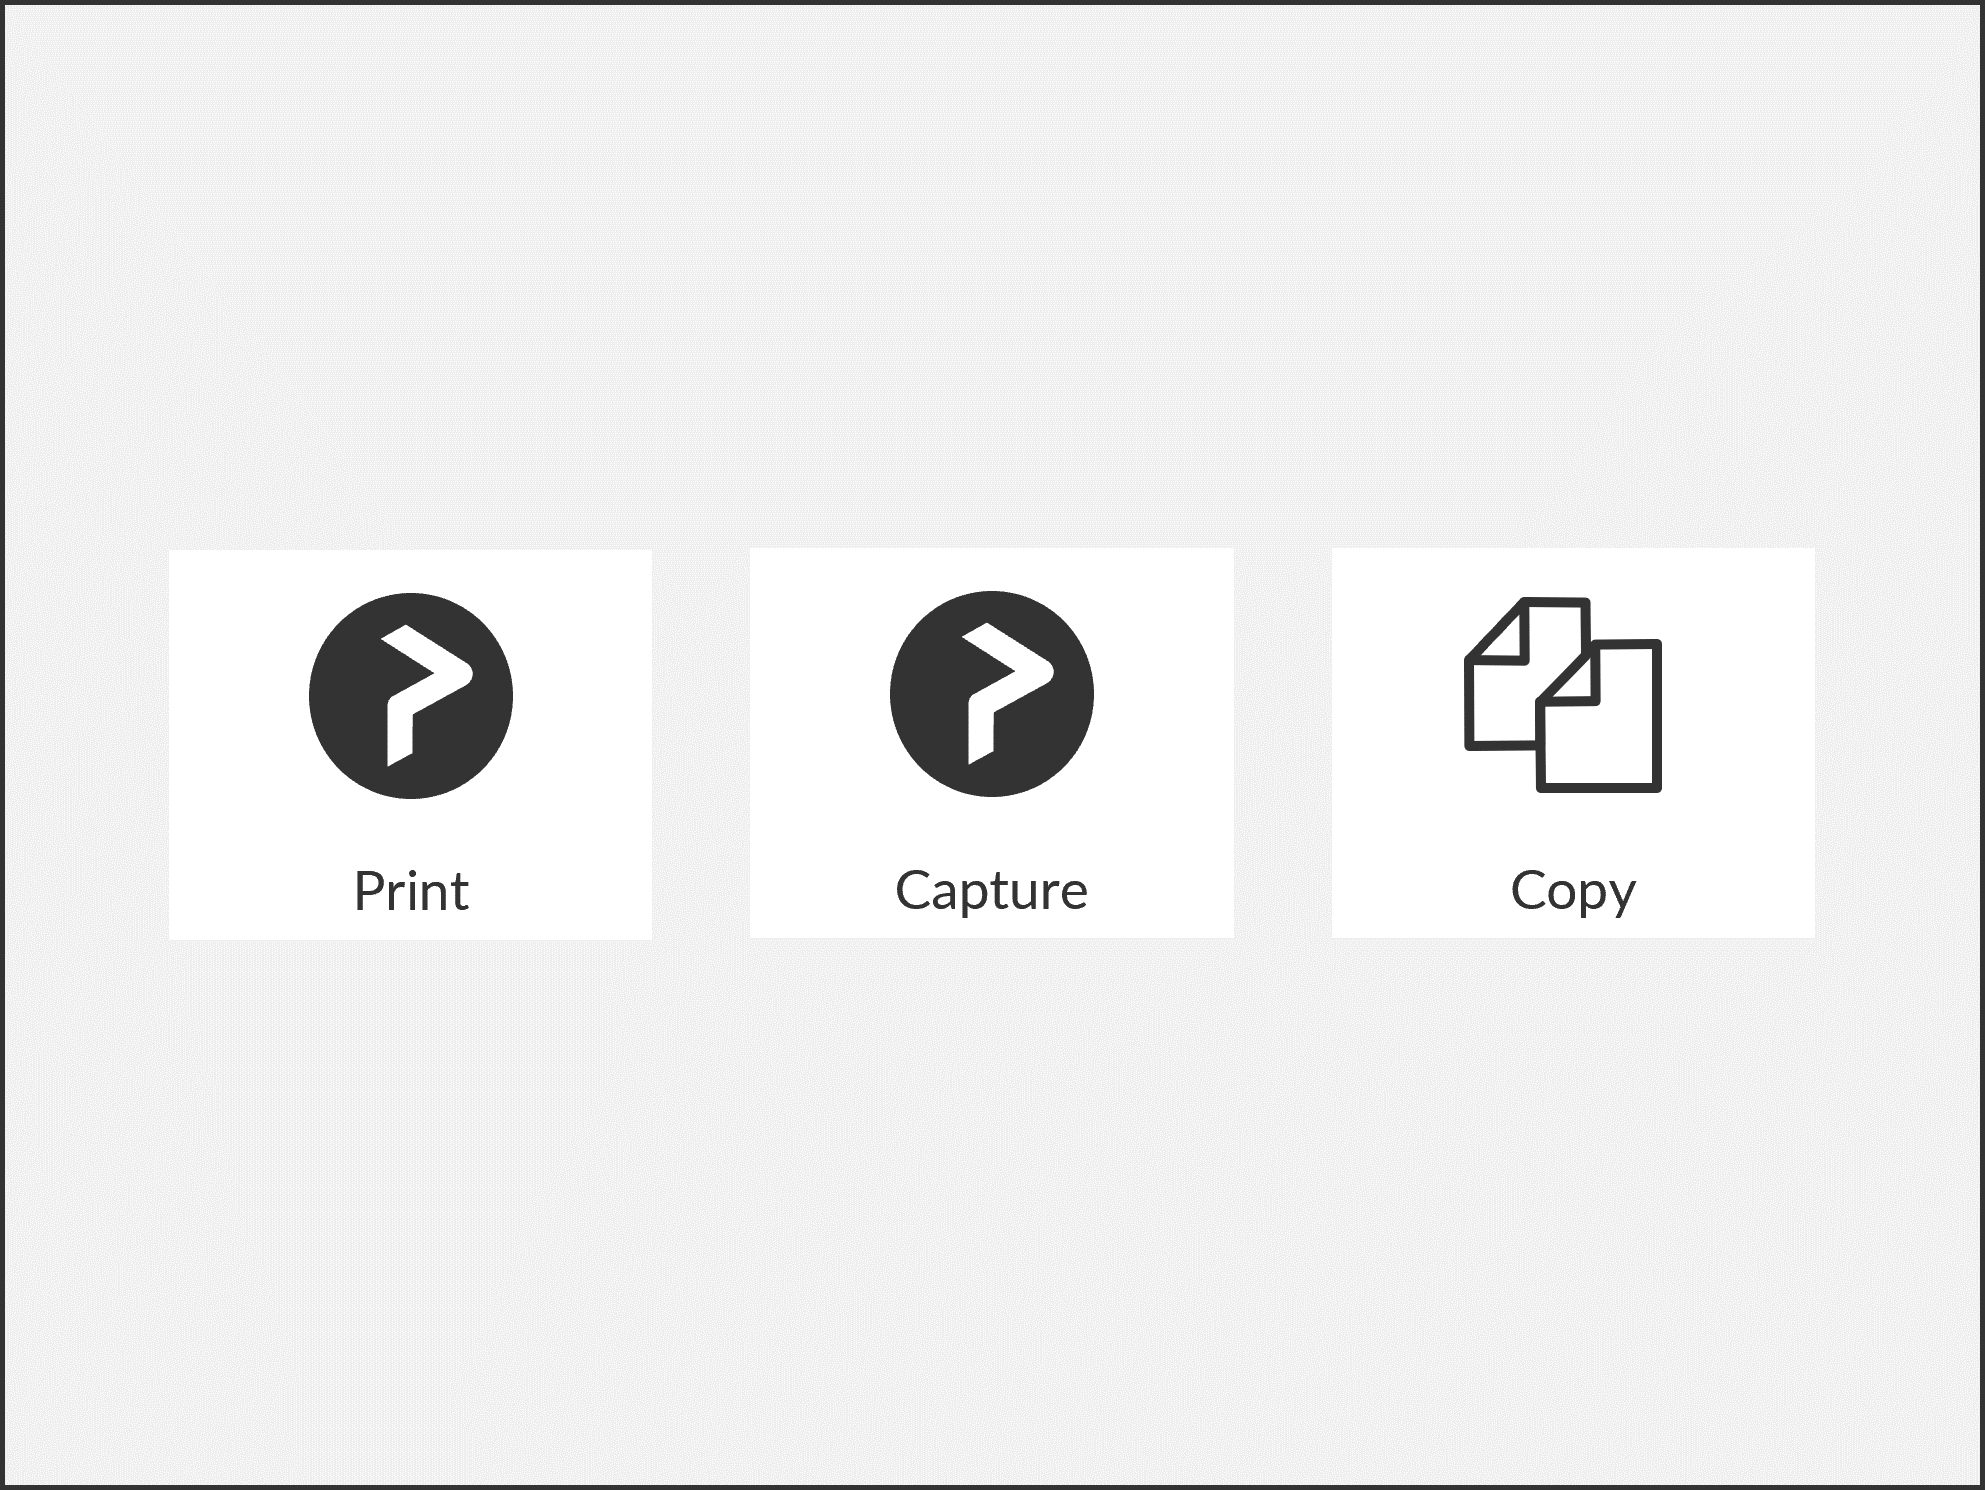
- Select the Printix Capture
icon.
A list of capture workflows appears.
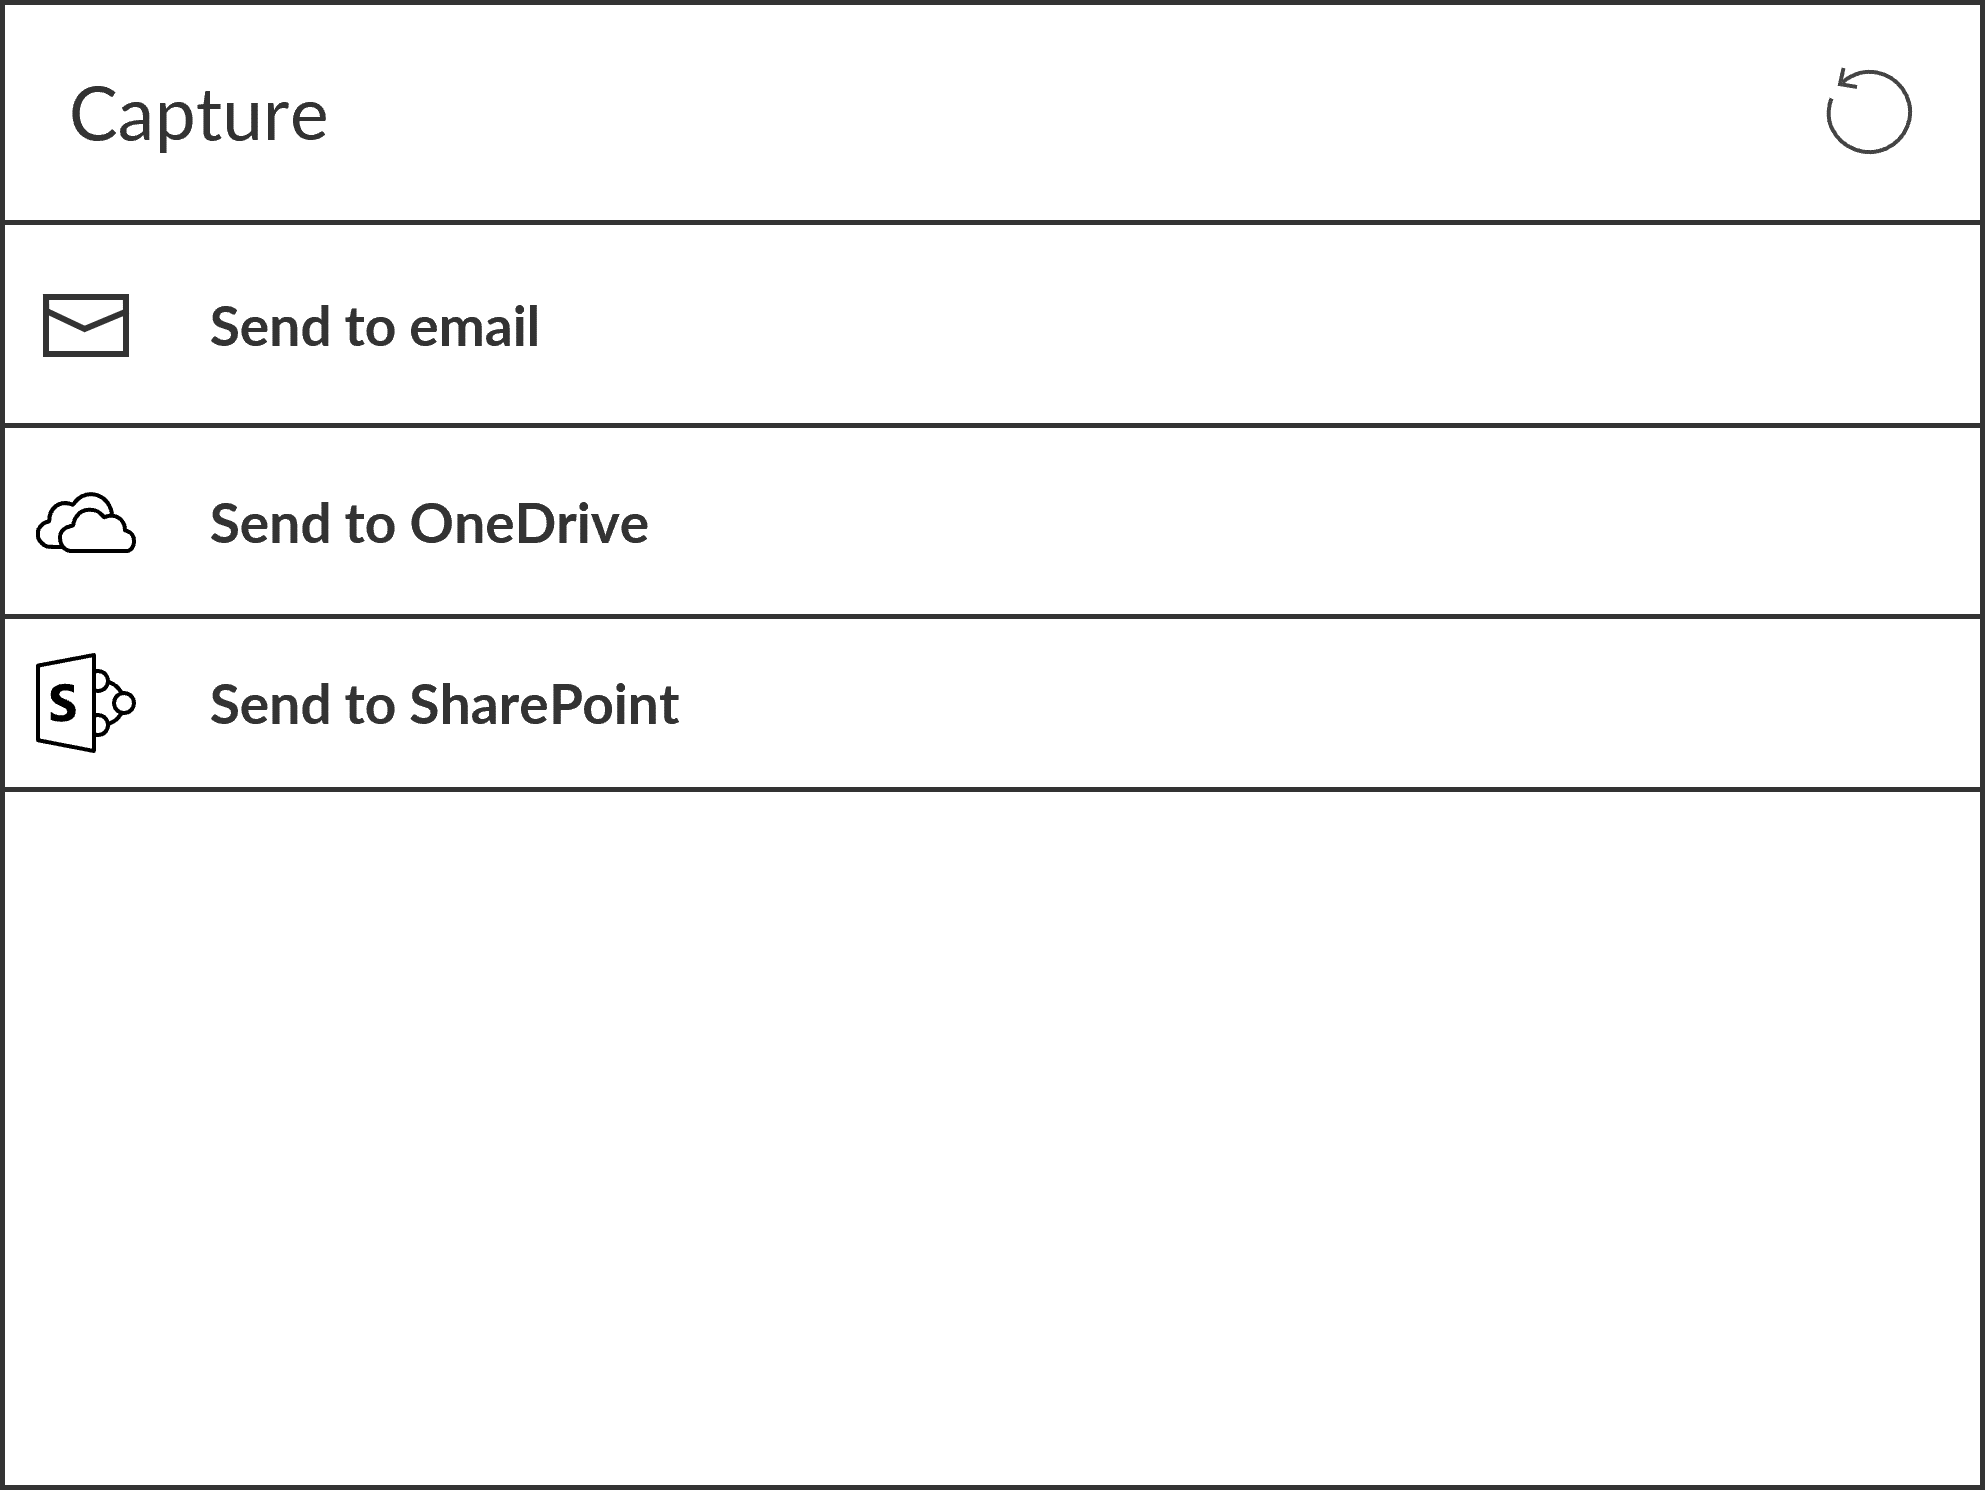
- Select the appropriate capture workflow.
- Only if you are signed in with the role System manager is the Active information (Yes or No) shown.
- Confirm the details of the workflow and place the document in the printer:
- Place multi-page document in the Automatic Document Feeder (ADF).
Ensure pages are in the correct order. - Place one-page document on the printer’s flatbed glass.
Scanning of multiple pages from flatbed glass is currently not supported.
- Place multi-page document in the Automatic Document Feeder (ADF).
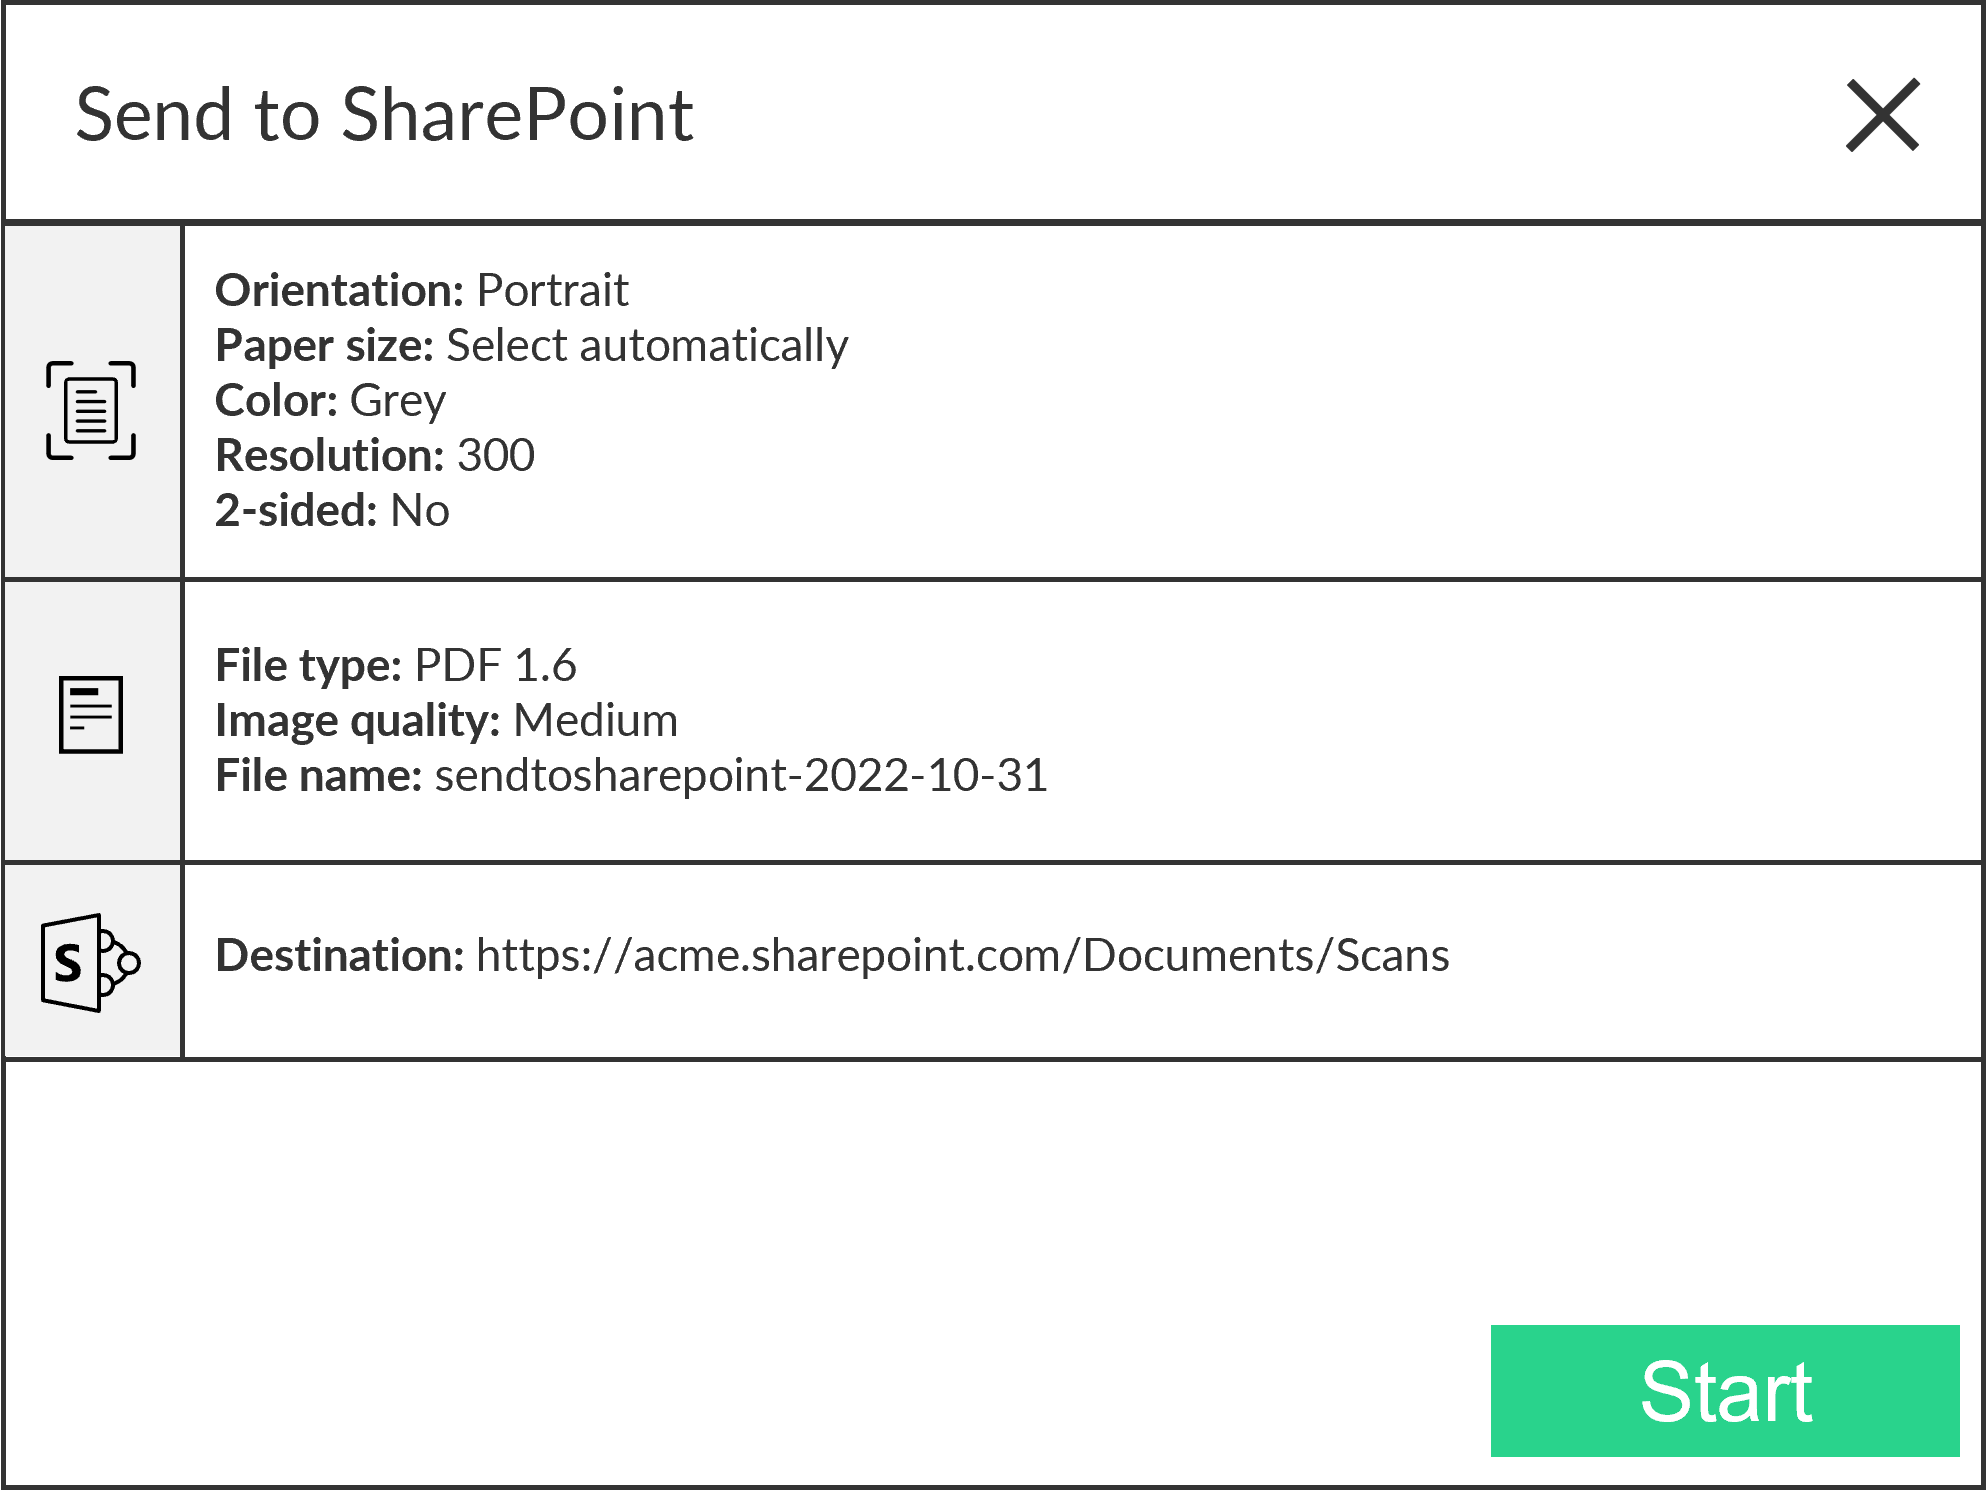
- Select Start to start scanning.
- As soon as the document is scanned and uploaded, you will be returned to the list of workflows, while the remaining steps continue in the background.
- If you do not want to start the scan, then select X to cancel and return to the list of workflows.
- On Ricoh, you cannot log out from the printer while the printer is scanning.
The capture process consists of three steps:
- Scan and upload
As soon as the document is scanned and uploaded, you will be returned to the list of workflows, while the remaining steps continue in the background. - Processing
Optical Character Recognition (OCR) processing and creation of the searchable PDF or Microsoft Word file. - Delivery
The document is sent in email, transferred to a cloud destination (OneDrive or SharePoint), or transferred to a connector destination.
Post your comment on this topic.