
- On the Printer properties page select the Print queues
![]() tab.
tab. - Select Create print queue
![]()
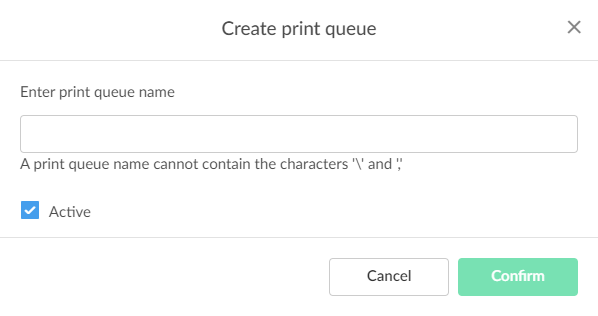
- In the Create print queue dialog enter Print queue name.
- Cannot contain the characters ‘\’ and ‘,’
- Must be unique for the printer. Uppercase and lowercase letters are treated the same.
- The Print queue name is what users will see on their computer and in Printix Client. If there are for example two active print queues, you should name them so users will both know the physical printer and be able to determine the difference in purpose of the print queues.
Example:- Printer name Reception has two queues with the Print queue names: Reception and Reception Staple.
- Reception is for general purpose and the one most frequently used of the two print queues.
- Reception Staple has a print driver configuration that will staple sheets together by default.
- Optionally uncheck Active to allow administrators (you) to test printing before allowing users to add the print queue.
- Select Confirm.
See also:
Post your comment on this topic.