
You can automatically deploy Printix Client for Mac with Microsoft Endpoint Manager.
Download Printix Client for macOS
- Open the Software
![]() page.
page. - Select Printix Client to download it.
- Open Downloads, for example from the Dock at the bottom of the screen.
- Double-select CLIENT_{home}_{id}.DMG.
After a few seconds the Printix Client dialog appears.
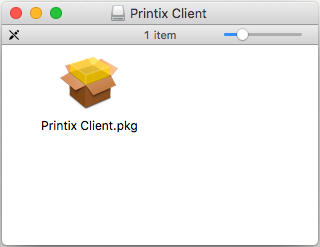
- Copy the cardboard box icon (Printix Client.pkg).
Microsoft Endpoint Manager
- Open a new browser window and sign in to Microsoft Endpoint Manager admin center (endpoint.microsoft.com), using your work account credentials.
- In the Microsoft Endpoint Manager admin center, select Apps.
- On the Apps | Overview blade, under By platform, select macOS.
- On the macOS | macOS apps blade, select Add.
- In the Select app type pane, under the Other app types, select Line-of-business app.
- Select Select to select App package file.
- In the Add app pane select Select app package file.
- In the App package file pane, select the browse button. Then, select the Printix Client.pkg file you downloaded in step 5.
The app details will be displayed. - Select OK on the App package file pane to add Printix Client.
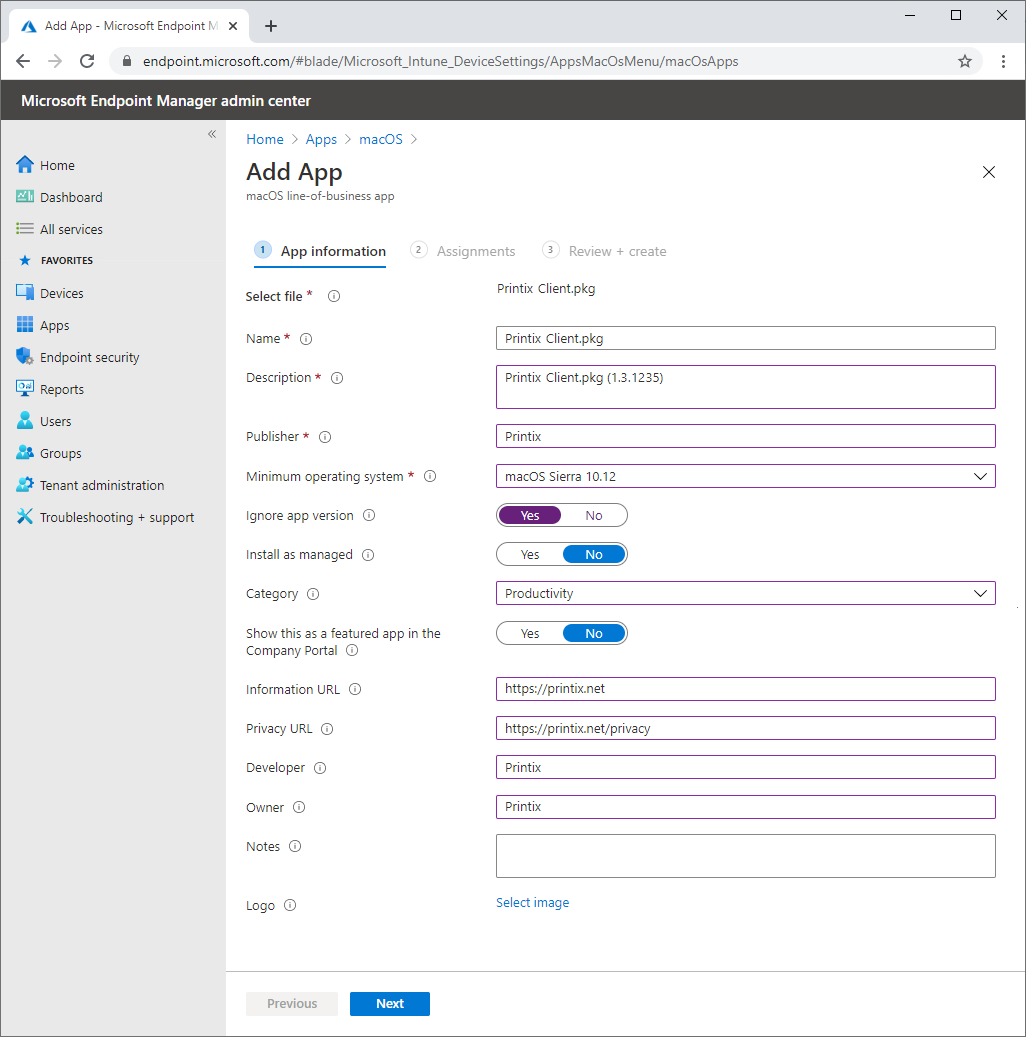
- On the App information page:
- In Name optionally edit the text: Printix Client.pkg
- In Description optionally edit the text: Printix Client.pkg (1.3.1235)
- In Publisher type: Printix
- In Minimum operating system select macOS Sierra 10.12.
- In Install as managed select No.
- For Ignore app version select Yes as the Printix Client automatically updates to the latest version.
- In Category select Productivity.
- For Show this as a featured app in the Company Portal select No.
- In Information URL optionally type: https://printix.net
- In Privacy URL optionally type: https://printix.net/privacy
- In Developer optionally type: Printix
- In Owner optionally type: Printix
- In Notes optionally type any notes you would like to associate with this app.
- Optional Logo. Select Select image to select for example an image with the Printix logo.
- Select Next.
- Select the Required or Available for enrolled devices.
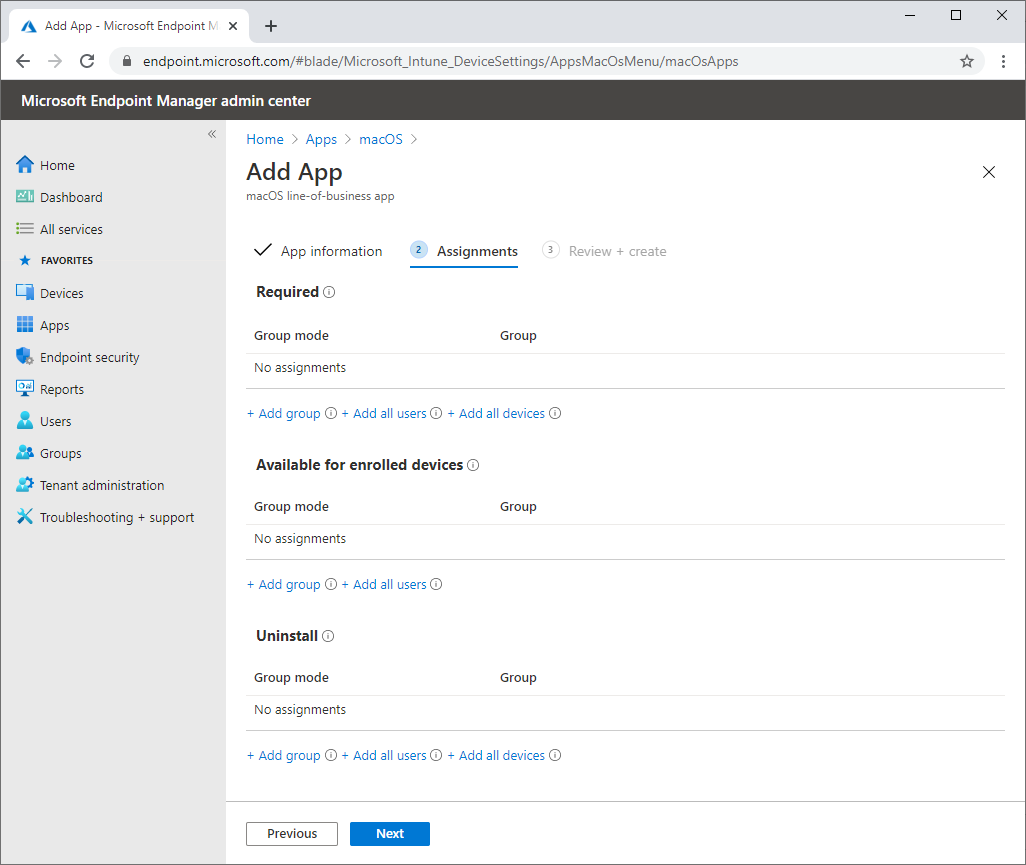
- Select Next to display the Review + create page.
- Review the values and settings you entered.
- When you are done, select Create to add Printix Client to Intune.
Post your comment on this topic.