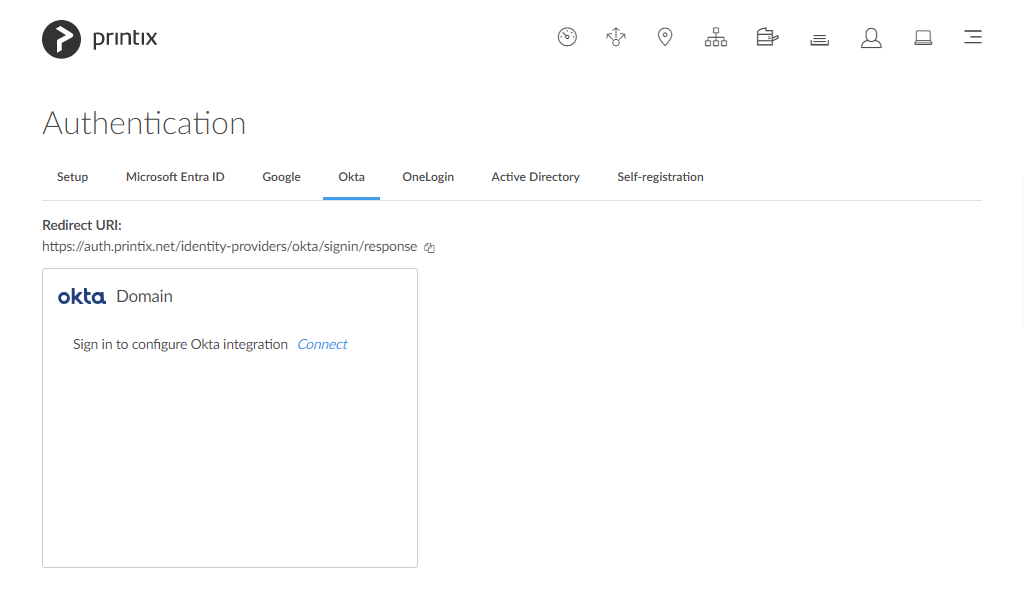
Paste the Redirect URI value you can copy to the clipboard on the Okta tab on the Authentication page in Printix Administrator.
Alternatively, type: https://auth.printix.net/identity-providers/okta/signin/response
Leave Logout redirect URIs empty (it is not used). Select Save.
On the General tab in the Client Credentials section:
Copy the Client ID. You need to paste it in step 19.
Copy the Client Secret. You need to paste it in step 20.
On the General tab in the General Settings | APPLICATION section:
Ensure Authorization Code is checked.
On the General tab in the General Settings | USERCONSENT section:
Optionally, uncheck Require consent.
In Terms of Service URI, optionally type: https://printix.net/terms
In Policy URI, optionally type: https://printix.net/privacy
In Logo URI, optionally type: https://assets.printix.net/img/logo/logo420×120.png
Select Save.
Enable Okta authentication
In Printix Administrator on the Authentication page select the Okta tab.
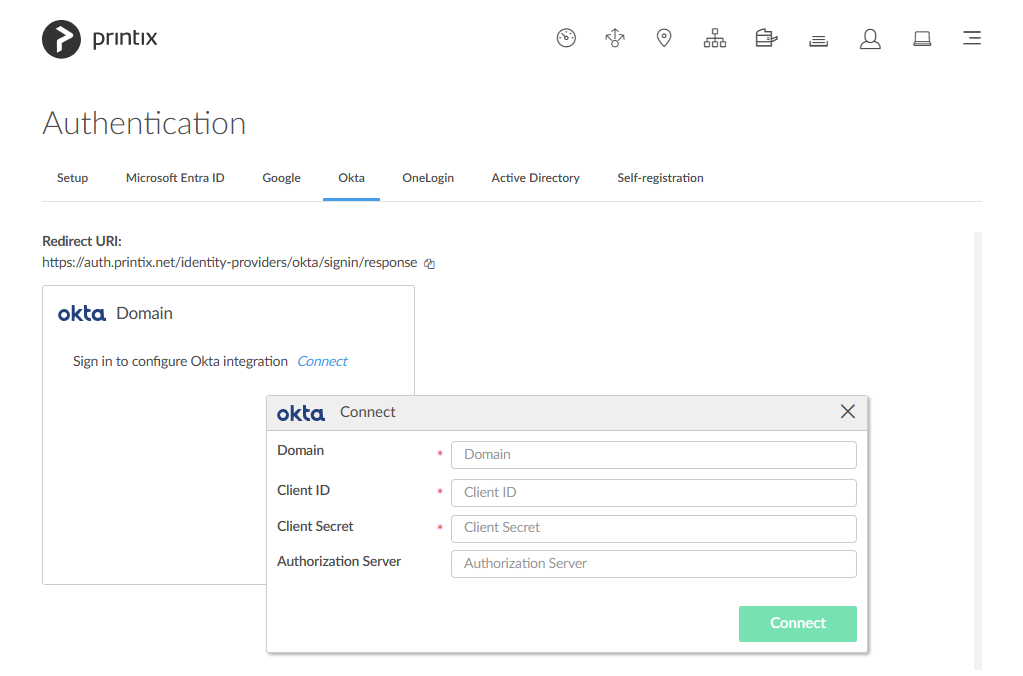
Select Connect.
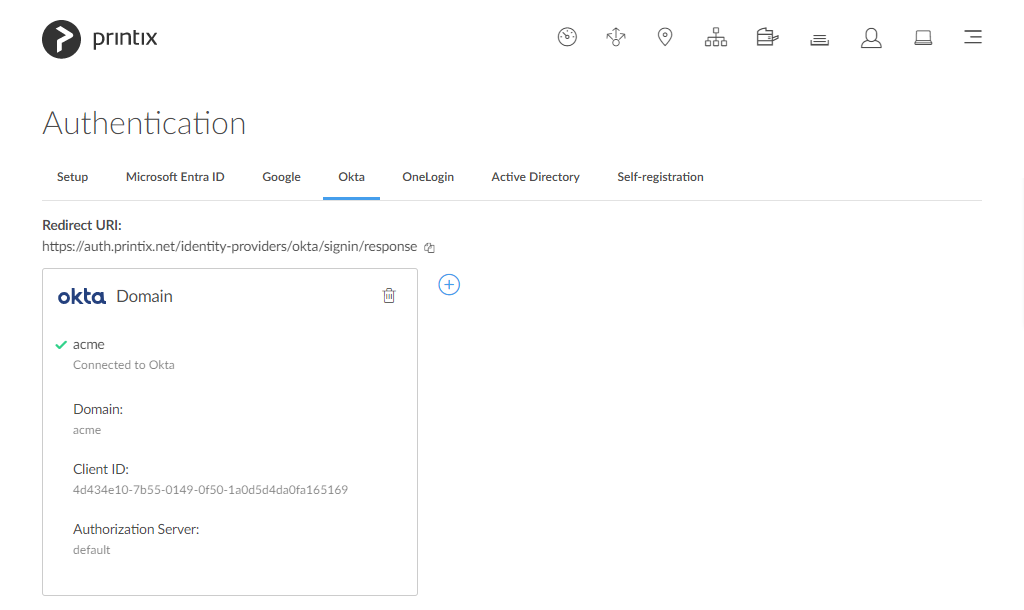
In Domain enter your Okta domain (acme.okta.com).
In Client ID paste the value you copied in step 12.
In Client Secret paste the value you copied in step 12.
If Okta for your organization is setup with an Authorization server then enter the value, otherwise leave it empty (default).

Post your comment on this topic.