
To get here:
- Select Menu
![]() , Software
, Software ![]() .
.
Windows
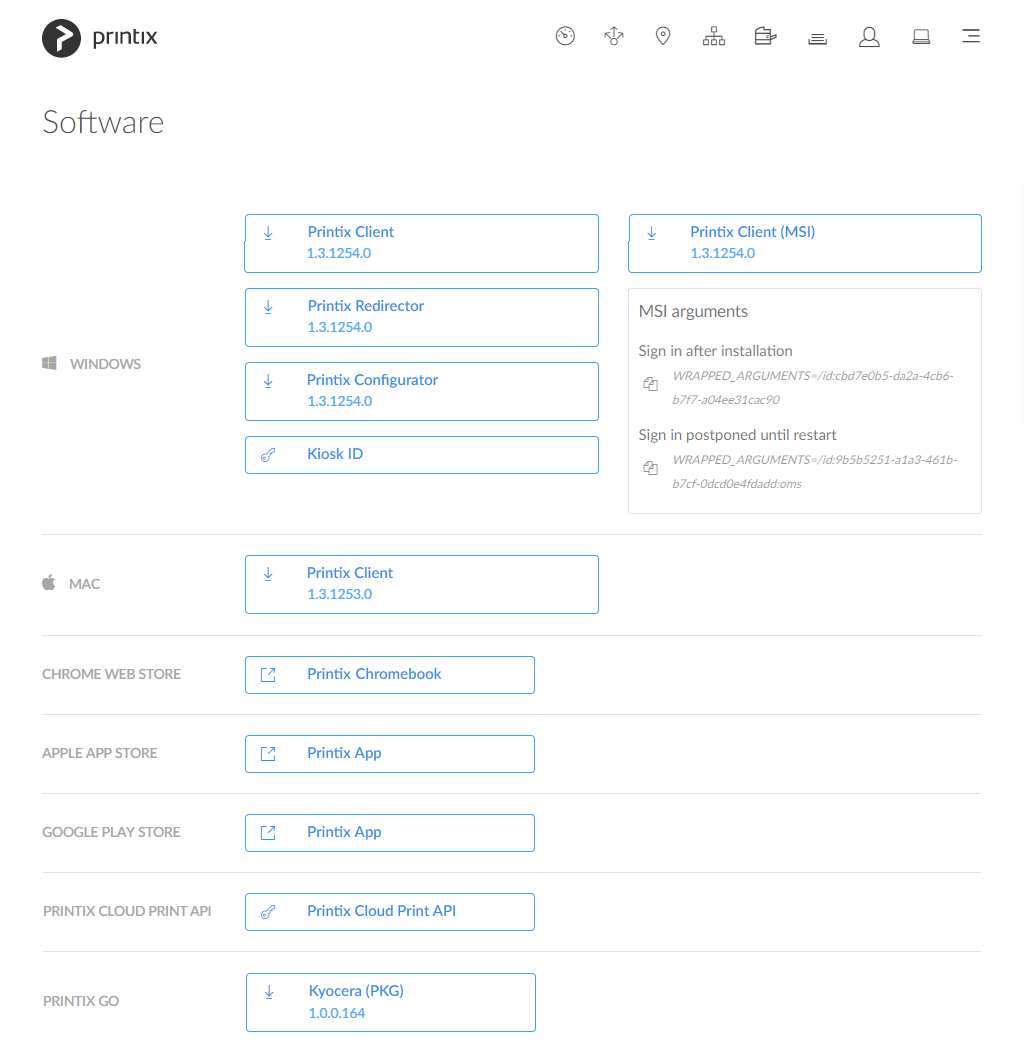
- Printix Client
Automates the creation of print queues and installation of print drivers. The MSI arguments are relevant if you want to deploy Printix Client with Microsoft Endpoint Manager.
- Printix Redirector
Use this to enable printing to a print queue on a Windows computer, enable third-party pull printing, and enable USB printing.
- Printix Configurator
Use this to initially configure Printix for customers with multiple locations (networks) and a large number of already deployed printers.
- Printix Client (MSI)
Use this for automatic deployment with Microsoft Endpoint Manager.
Select the relevant MSI argument to copy it to the clipboard.- Sign in after installation
Sign in will occur right after Printix Client is installed. This is the default behavior. - Sign in postponed until restart
Deploy Printix Client without starting the user interface (PrintixClient.exe). This method can be used to install Printix Client as part of an automated process (like Windows Autopilot) that completely configures a new computer before this is delivered to the user. This way, sign in is postponed until the user starts to use the computer. Only the Printix Service (PrintixService.exe) is started. The computer with Printix Client will only be registered and listed in Printix Administrator once a user has signed in.
- Sign in after installation
- Kiosk ID
Making Printix Client for Windows run as kiosk on a computer is relevant if multiple users need to operate and print from the computer without being signed in with a personal account.
Mac
- Printix Client
Automates the creation of print queues and installation of print drivers.
Chrome Web Store
- Printix Chromebook
Print to Printix managed printers from Chromebooks and computers with Google Chrome.
![]()
Apple App Store
- Printix App
Release, print, and delete documents on iPhone and iPad.
![]()
Google Play Store
- Printix App
Release, print, and delete documents on Android phone and tablet.
![]()
Printix Cloud Print API
- Printix Cloud Print API
Intended for use by applications that wish to push print jobs in printer-native or PDF format into a Printix print queue, and for organizations who want to do guest user administration. For a detailed explanation, see printix.github.io.
- Select Printix Cloud Print API.
- In Name, type a name. Example: acme (First part of your Printix Home)
The name you enter will appear as a user on the Users page and with the role Cloud Print API user. Deleting this user will revoke the matching Client ID / Client Secret pair. - Check I accept and select Submit to get the Client ID and Client Secret for the required authentication with the API.
- Select the Client ID value to copy it to the clipboard.
- Select the Client Secret value to copy it to the clipboard.
- Select the Tenant ID value to copy it to the clipboard.
Printix Go
- Kyocera (PKG)
Use this to install Printix Go on a Kyocera printer. - Ricoh (ZIP)
Use this to install Printix Go on a Ricoh printer without using the Printix Client.
The clientless Printix Go Ricoh has limited functions compared to the typical installation. - Ricoh Installer (ZIP)
Use this to install Printix Go on a Ricoh printer without using the Printix Client.
The clientless Printix Go Ricoh has limited functions compared to the typical installation.
Capture Connector API
Intended for use by applications that wish to integrate with Printix Capture to process and deliver documents and metadata to custom systems. For a detailed explanation, see How to get started with Capture Connector API.
- Sample Connector .NET
Use this sample connector to process documents created by Printix Capture and store them and their metadata on a pre-configured networks share. - Source code .NET
Use this sample connector source for reference how to create your own application in .NET to integrate with Capture Connector API to process documents and metadata. - Source code Java
Use this sample connector source for reference how to create your own application in Java to integrate with Capture Connector API to process documents and metadata. - Source code Node.js
Use this sample connector source for reference how to create your own application in Node.js to integrate with Capture Connector API to process documents and metadata. - Source code Python
Use this sample connector source for reference how to create your own application in Python to integrate with Capture Connector API to process documents and metadata.
Post your comment on this topic.