
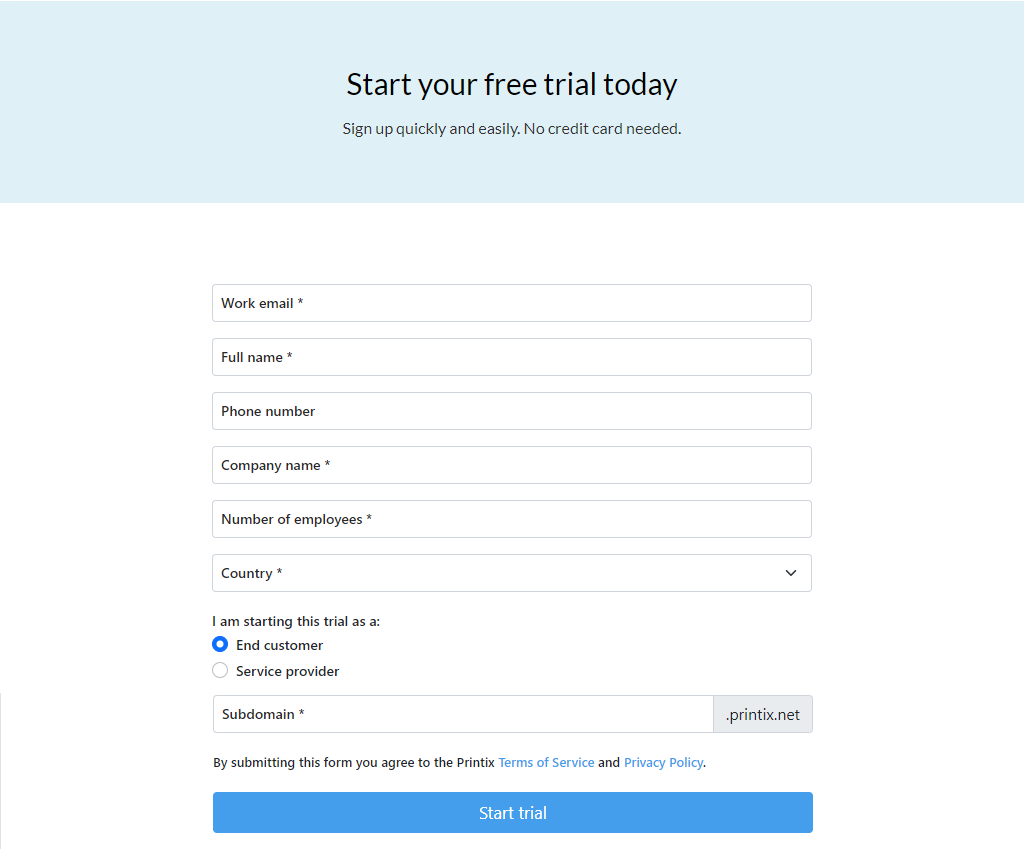
Perform the below steps once to create a Printix Home.
- Visit printix.net and select Free trial.
- Follow the steps described in Getting started.
Select Implementation setup
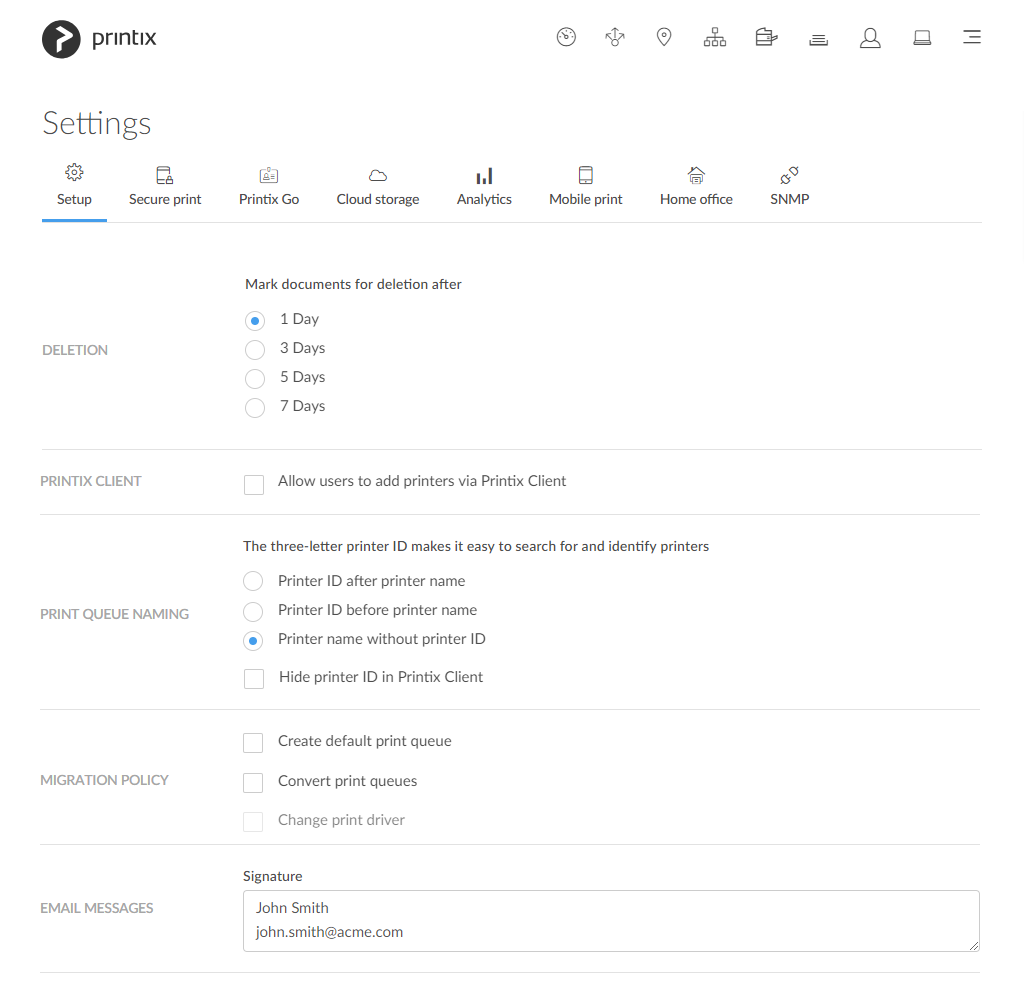
- To select the Implementation setup, we recommend you make these changes on the Settings
![]() page in Printix Administrator.
page in Printix Administrator. - On the Setup
![]() tab:
tab:
- Allow users to add printers via Printix Client is unchecked.
- Print queue naming is set to Printer name without printer ID.
- Create default print queue is unchecked.
- Convert print queues is unchecked.
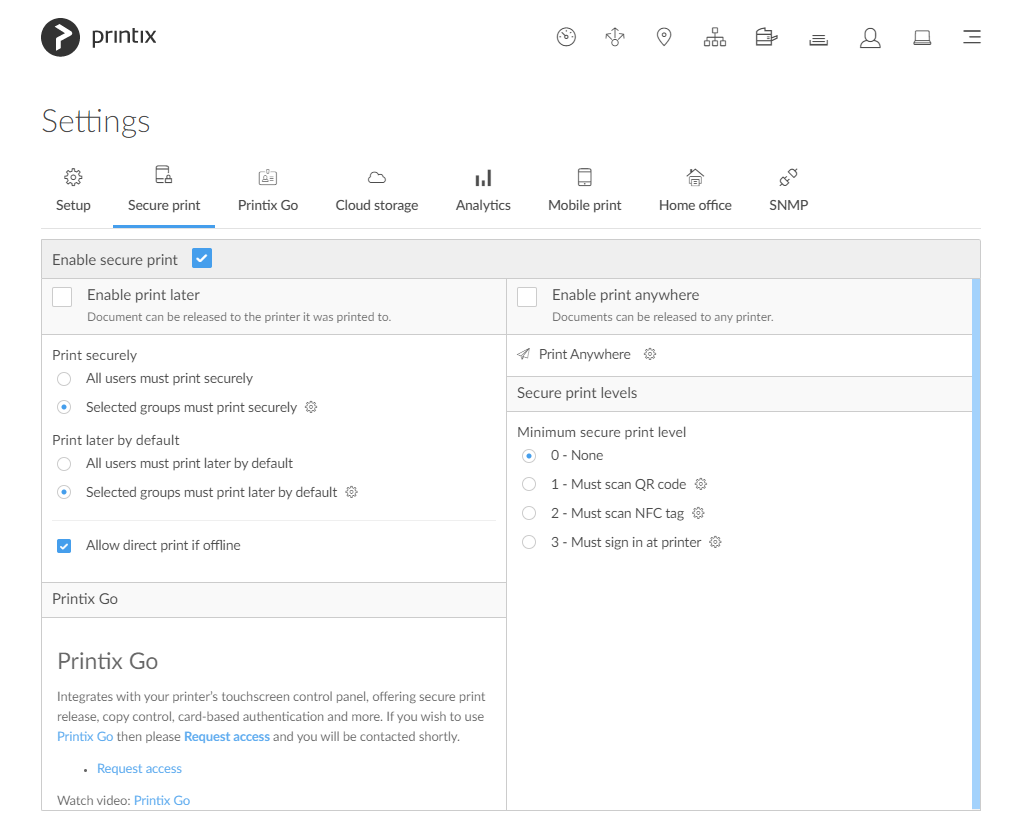
- On the Secure print
![]() tab:
tab:
- In the Print later section, uncheck Enable print later.
- In the Print anywhere section, delete the print anywhere print queue(s). Uncheck Enable print anywhere.
Post your comment on this topic.