
By default, Windows will manage the default printer. You can turn off this behavior:
- Select the Windows
![]() icon + I.
icon + I. - Select Devices (or Bluetooth and devices on Windows 11).
- Select Printers & scanners.
- Uncheck Let Windows manage my default printer.

Set default printer on Windows
- Select the Windows
![]() icon + I.
icon + I. - Select Devices (or Bluetooth and devices on Windows 11).
- Select Printers & scanners.
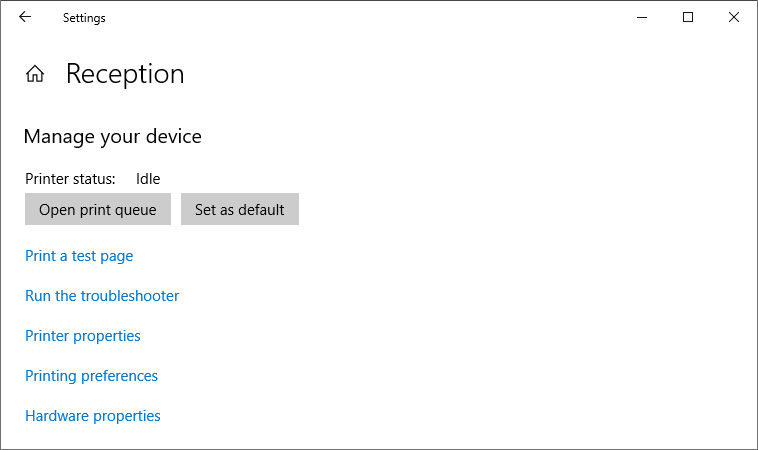
- Select the printer and select Manage.
- Select Set as default.
Alternatively, do it from the Control panel.
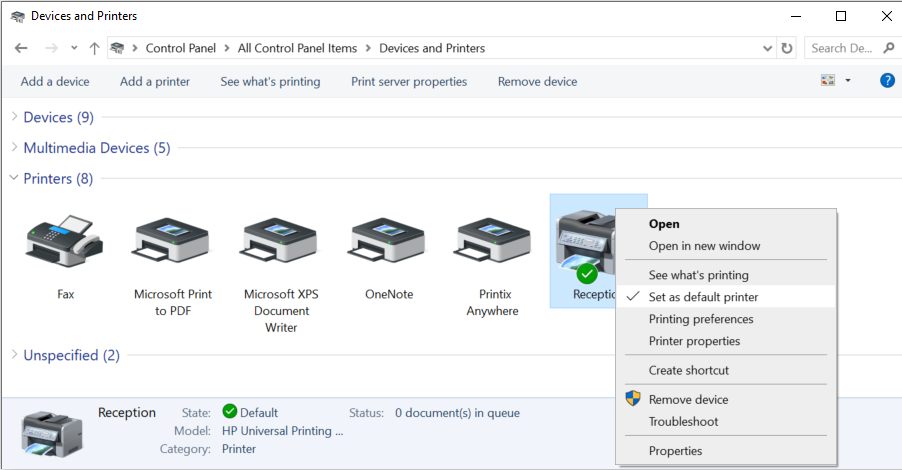
- Open Control Panel and select Devices and Printers.
- Right-click printer and select Set as default printer.
Set default printer on Mac
- Select Apple menu
![]() , System Preferences…, then select Printers & Scanners.
, System Preferences…, then select Printers & Scanners. - Select the drop-down menu labeled Default Printer and select the desired printer. If you select Last printer used, the computer remembers the printer you used last at your current network location.
Post your comment on this topic.